Now This is What it’s Like When Worlds Align
March 2nd, 2016
Hey I realize this week’s post is a day late and kinda short but I’ve been hit by a near fatal dose of writer’s block and time flying away lately so this will have to do. I wanted to share an awesome new trick I discovered in the unreal engine with you though. By new… I mean new to me, this will probably be old hat to some of you out there but hopefully this will help a few others out there that, like me that didn’t realize this was a thing.
World Aligned Textures
Gone are the days of trying to line up objects/UV’s just right so that the seam between two objects using the same material wasn’t obvious. Gone are the days of being unable to scale simple objects because it would distort the tiling texture on it. Gone are the days where you need to even touch Unreal’s BSP UV controls. Well.. Mostly…
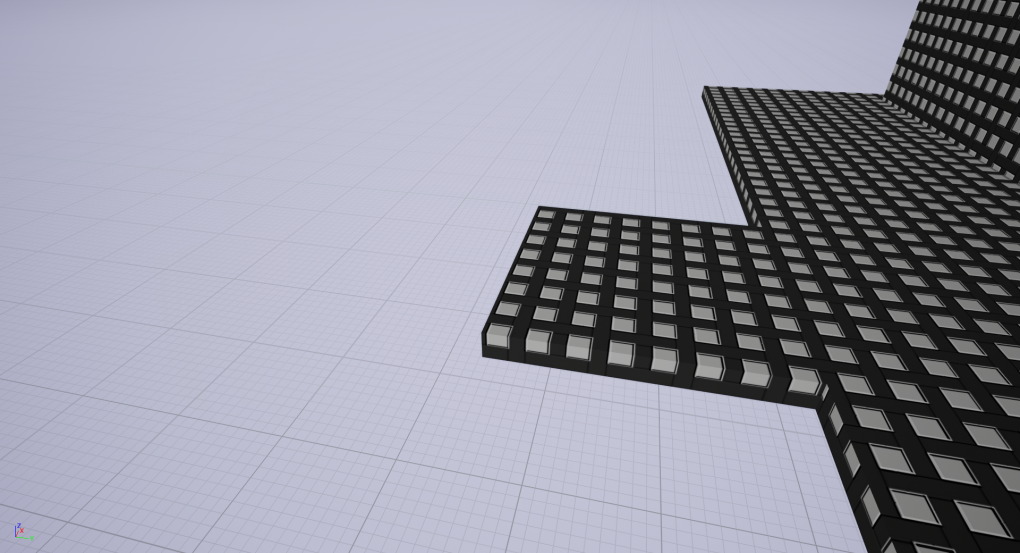
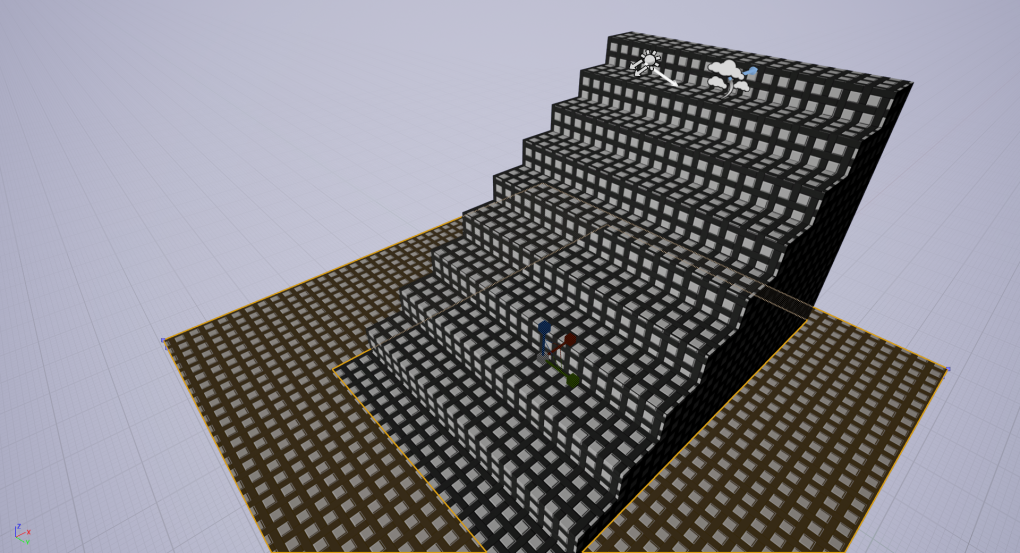
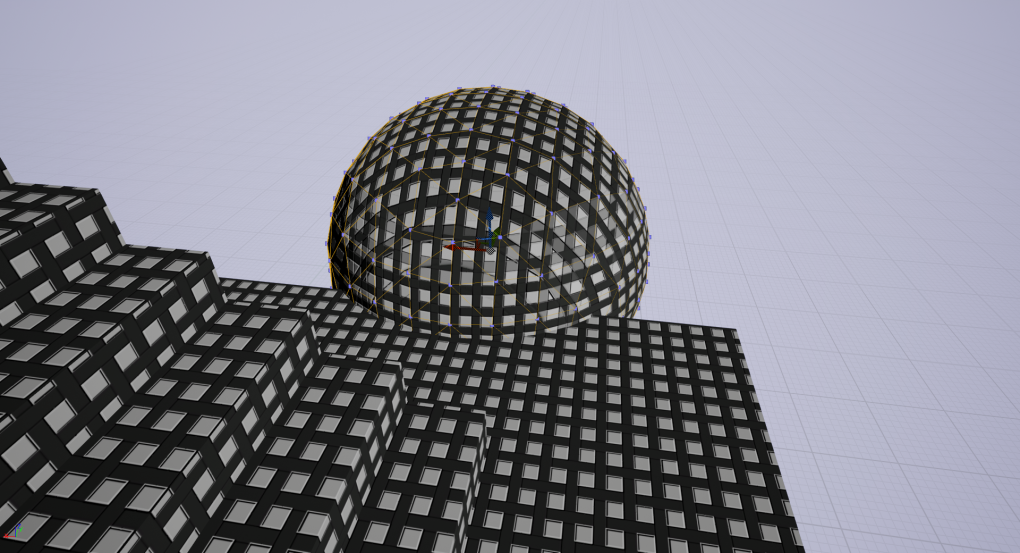
World Aligned textures allow you to assign textures in the world space instead of the local UV space. What does that mean? Well in it’s simplest case it means that if you have two objects right next to each other you can have the texture from one continue onto the next regardless of how either of the meshes are set up.
Note: I intentionally used a grid, the least forgiving texture, for these examples.

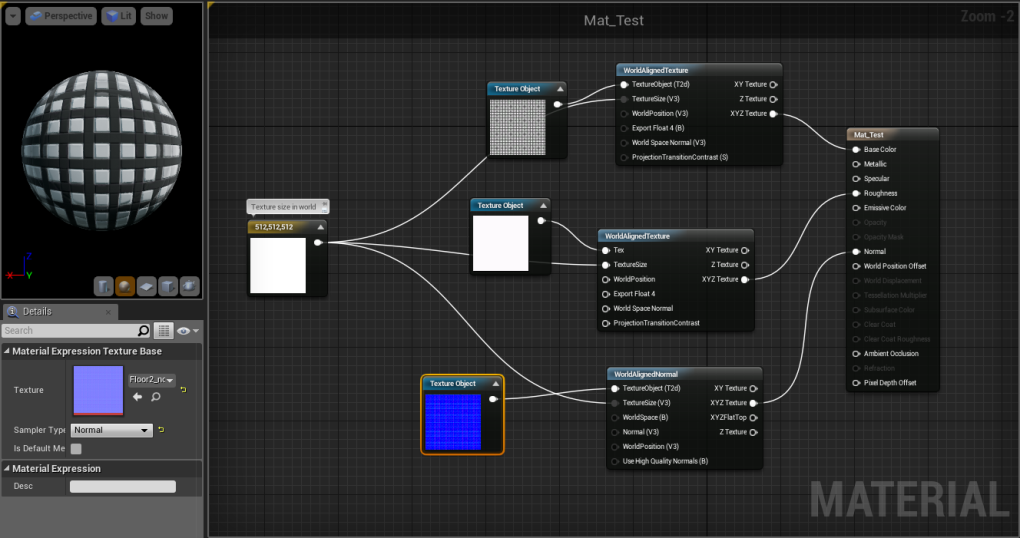
Setting it up is simple. You can check out Unreal’s documentation HERE, but all you have to do is feed your textures into a “World Aligned Texture” node before applying them in your material. Here’s the actual material I used to spin up this example.
There’s a few things to note about the above image.
- Those are “Texture Object” nodes not “Texture Sample” nodes. So you can’t just drag and drop your textures into this and expect it to work.
- Normals are handled a little differently. For normals you have to use a “World Aligned Normal” node instead.
- Texture size handles the world space texture size, so increasing UV size no longer does anything for your models/BSP brushes. The tiling size of texture is now defined by that texture size value.


It should be noted that this technique doesn’t work everywhere. This will only ever work on stationary meshes, and seems to work best on texture’s that are a little noisy to begin with E.G. not grids. I find that it works great with rocks and caves.
back to blog
